Astrand Electronic
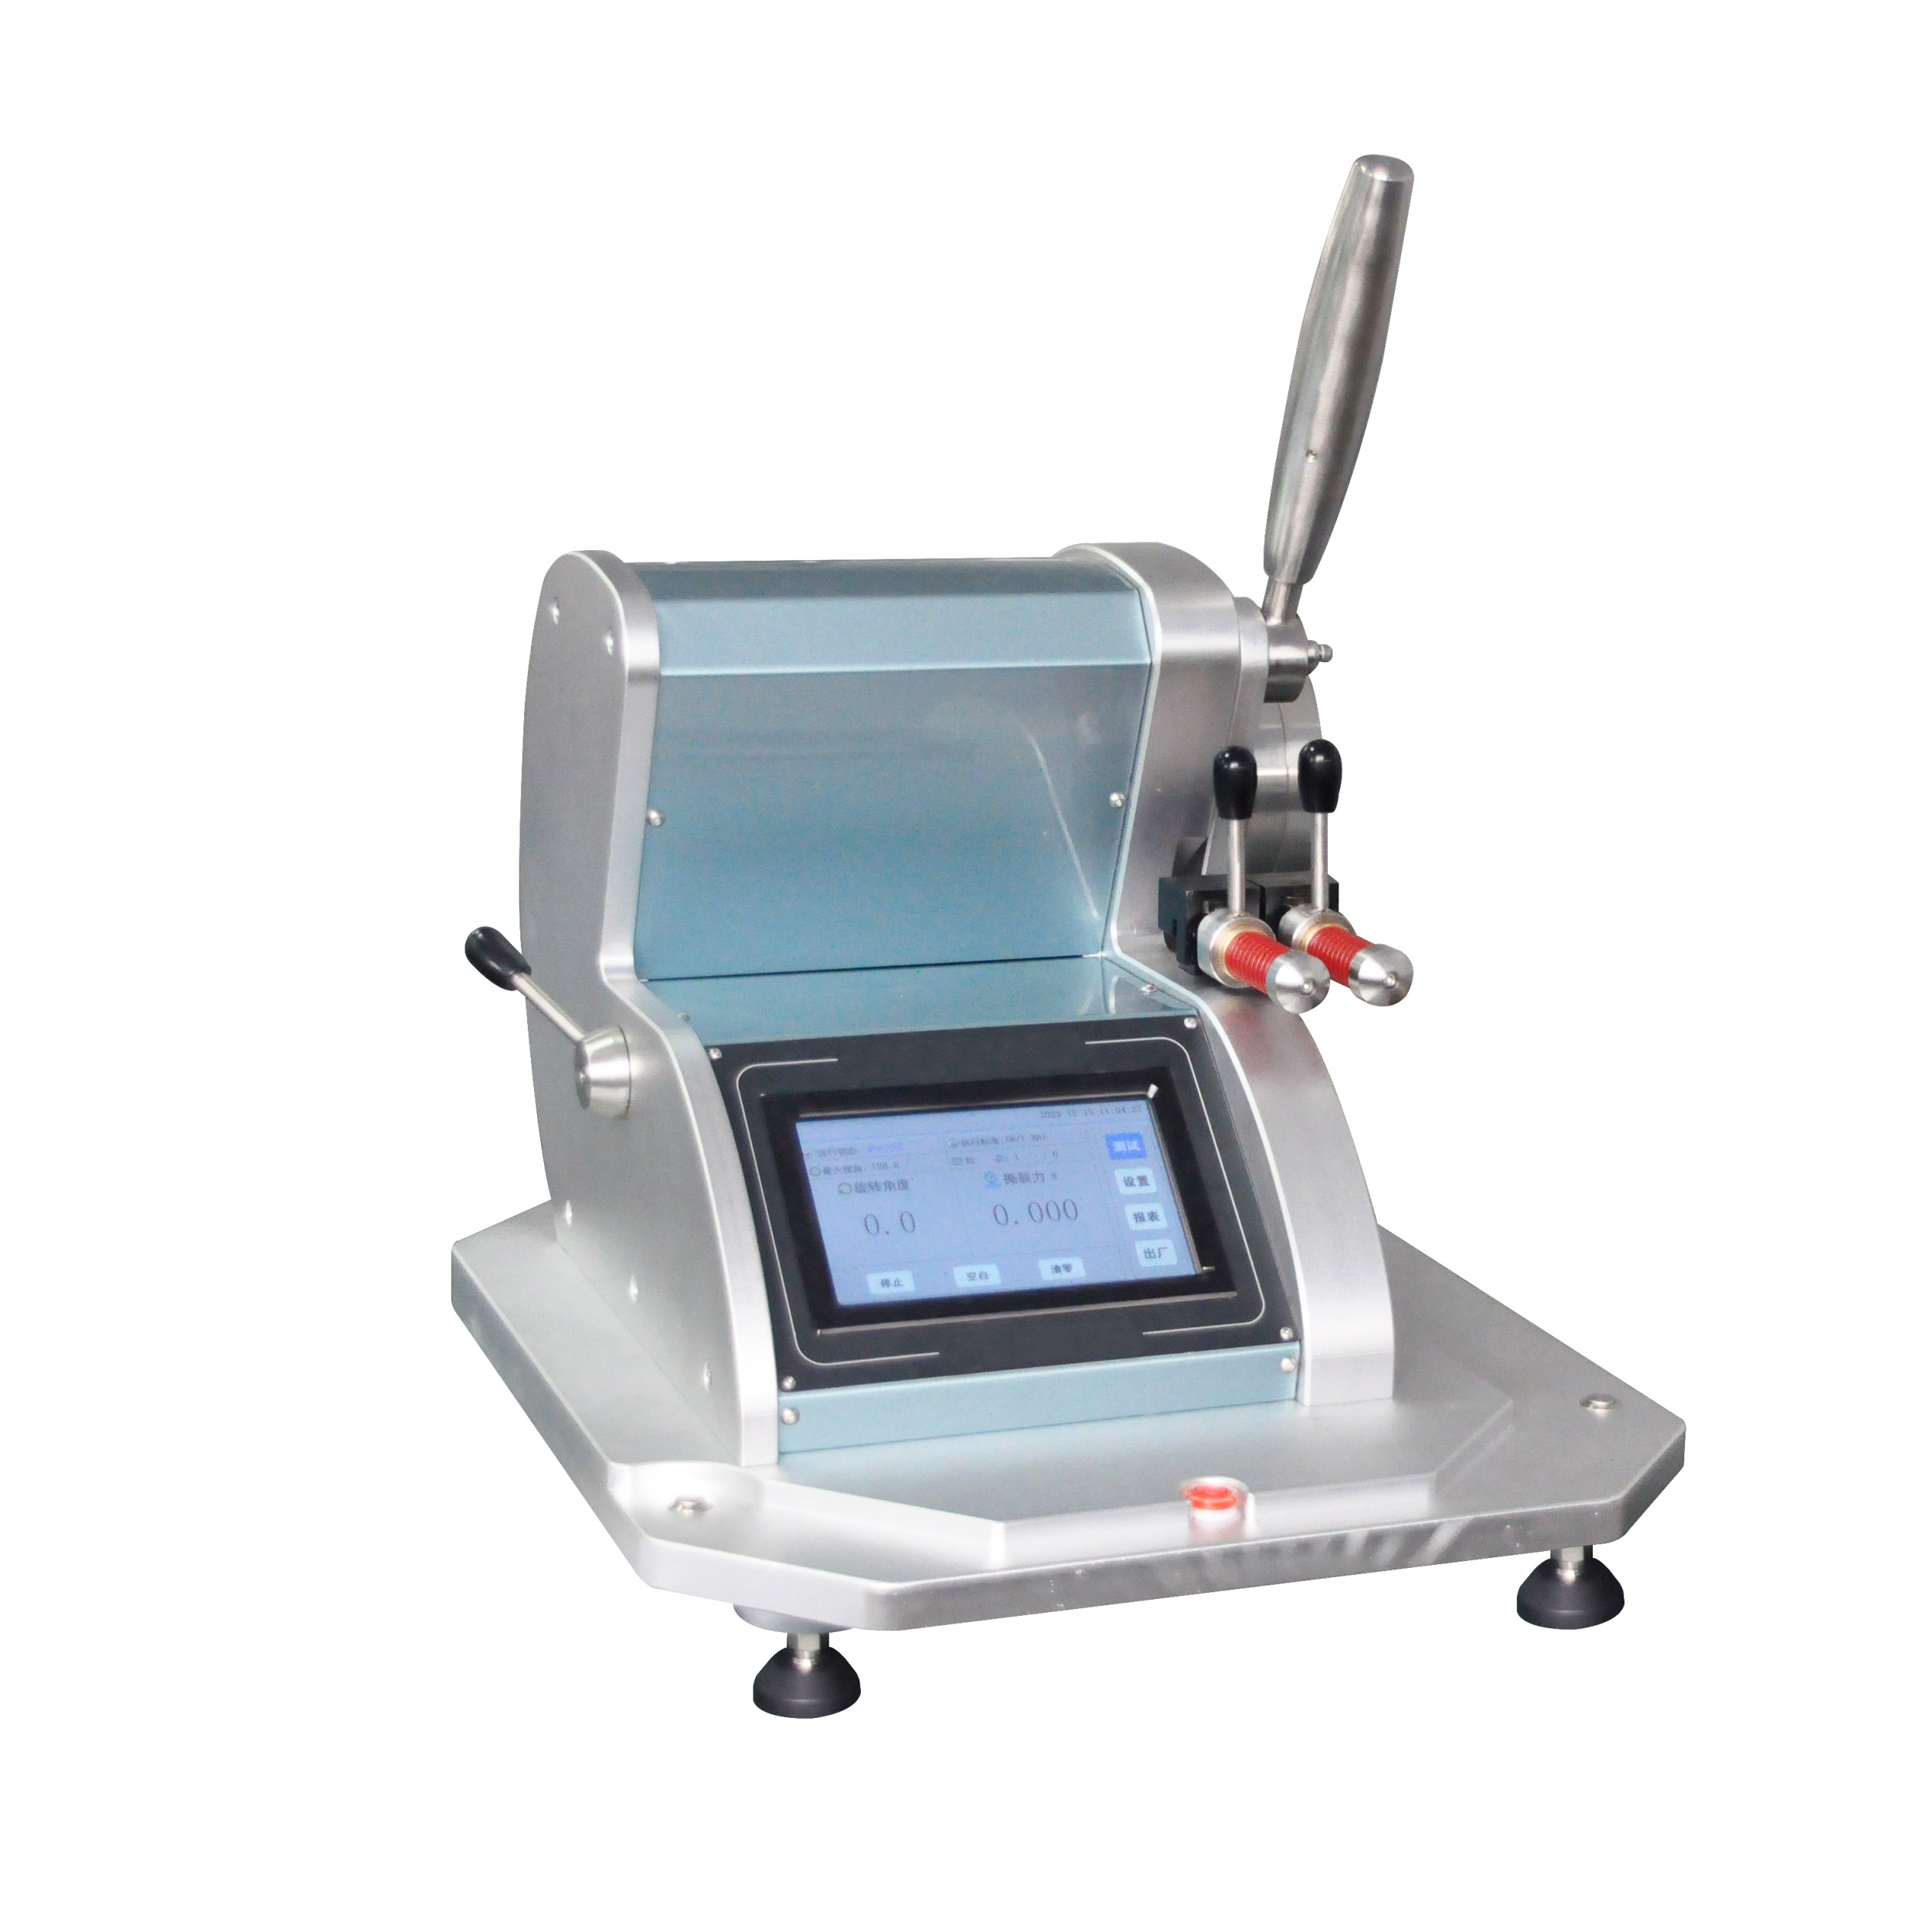
Electronic Fiber Tensile Strength Test Machine (Single Column ) ASTRAND
View more


中文
English


24-Hour Hotline
+86 130 6682 0203 Sarah

E-mail Us
sarah@astrand-martindale.com

Categories
New Products
 ASTRAND")

")


Improving Elmendorf Tear Test Precision – A Practical Guide
Time: 2025-08-13 14:03:23
Author: Sarah
From: Dongguan Astrand Electronic Technology Co.,Ltd
Click:
Types of Tear Strength Tests in the Textile Industry
In textile quality assessment, tear strength tests are essential for determining a material’s ability to resist the progression of a tear. Two primary methods are commonly used:
1. Tongue Tear Test (Single Cleft Method)
This method involves cutting the specimen to create a tongue-like shape, typically by making two parallel incisions. The sample is then placed in a tensile testing machine, where force is applied to pull the “tongues” apart. The recorded force represents the material’s resistance to further tearing from an initiated cut.
2. Elmendorf Tear Test
Recognized as a standard in the industry, the Elmendorf test uses a pendulum apparatus to apply a sudden tearing force to a pre-cut specimen. The device measures the energy absorbed during the tear, which is then converted into tear strength values. This method is suitable for woven and non-woven fabrics but is not recommended for knitted or highly flexible woven materials due to their stretch properties, which can distort results.
Why the Elmendorf Test Matters
This test plays a crucial role in evaluating a fabric’s performance once a tear begins. Enhancements to the Elmendorf tear tester—such as precise calibration, consistent environmental conditions, and accurate sample preparation—can significantly improve measurement accuracy and repeatability
Steps to Improve the Testing Accuracy of the Elmendorf Tear Tester
Comprehensive Guide for Textile Quality Control and Research Labs
The Elmendorf Tear Test is a standardized method for determining the tearing strength of sheet materials such as woven fabrics, nonwovens, paper, and plastic films. This test plays a critical role in product design validation, quality control, and regulatory compliance, making accuracy a top priority.
Even small procedural errors—like uneven cutting, incorrect notch size, or inconsistent sample conditioning—can cause deviations that lead to costly rework, product recalls, or compliance failures.
This guide outlines best practices, technical tips, and step-by-step improvements to help you achieve reliable and repeatable Elmendorf tear test results.
1. Why Accuracy Matters in Elmendorf Tear Testing
Applications Where Tear Strength is Critical
- Protective apparel: firefightersuits, military uniforms, industrial coveralls
- Outdoor gear: tents, sails,awnings, parachutes
- Automotive and transport: seatcovers, airbags, cargo nets
- Industrial fabrics: conveyor belts,filter fabrics, tarpaulins
- Packaging materials: paper bags,composite sacks, heavy-duty wrapping
???? Standards Requiring Elmendorf Testing:
- ASTM D1424 – Tearing Strength ofFabrics by Falling-Pendulum (Elmendorf-Type) Apparatus
- ISO 13937-1 – Determination of tearforce of fabrics, Part 1: Elmendorf method
- GB/T 3917.1 – Chinese standard forElmendorf tear testing of textiles
- TAPPI T414 – Elmendorf test forpaper and board
Inaccurate results can lead to:
- Product over-specification (wastingmaterials)
- Underperforming products (prematuretearing in service)
- Failed compliance audits (blockingshipments to certain markets)
2. Step-by-Step Accuracy Improvement Procedure
Step 1: Sample Preparation — The Foundation of Accuracy
The quality of the sample directly impacts the validity of results.
- Specimen Dimensions: Standard sizeis 100 × 75 mm. Any deviation alters the pendulum’s leverage ratio.
- Directional Testing:
- Prepare 5 warp-direction specimens (parallel to lengthwise yarns)
- Prepare 5 weft-direction specimens (parallel to crosswise yarns)
- Pre-Cut Notch: Cut a 15 × 12 mmsection from the top center of each specimen to guide the tear.
???? Pro Tips for Cutting:
- Use a precision rotary cutter or laser-cutting jigto avoid fraying.
- Do not pull or stretch the fabric during cutting. Even slightelongation can change yarn tension and tear resistance.
- Always discard the first few centimeters from a fabricroll—these are often stretched or creased from handling.
Step 2: Avoiding Sampling Errors
- Do not cut from fabric edges ornear selvedges, where weave density differs.
- Exclude sections with visible defects, stains, or finishingirregularities.
- For patterned fabrics, avoid cutting over printed or coatedsections unless the test aims to measure their effect.
Step 3: Conditioning the Samples
The moisture content and temperature of a fabric affect tear strength.
- Standard atmosphere for testing:
- Temperature: 20 ± 2°C
- Relative Humidity: 65 ± 4%
- Conditioning Duration: Minimum 4hours; for moisture-sensitive fabrics like cotton, extend to 24hours.
???? Why This Matters:
- High humidity softens fibers, lowering tear resistance.
- Low humidity makes fibers brittle, increasing measured tearstrength artificially.
Step 4: Machine Leveling and Stability
- Ensure the Elmendorf tester is placed on a rigid,vibration-free table.
- Use built-in bubble levels to check both longitudinaland lateral alignment.
- Avoid placing the machine near fans, air conditioners, orhigh-traffic areas—even small vibrations can affect readings.
Step 5: Calibration — The Heart of Accuracy
- Use certified calibration weights at the start of eachtesting day.
- Check zero balance without a specimen before each batch.
- Calibrate across all load ranges (A, B, C, D weights).
⚠ Neglecting Calibration Risks:
- Even a slight offset in zero balance can lead to systematicmeasurement errors across all tests.
Step 6: Selecting the Correct Pendulum Weight
- Match pendulum capacity to expected tear strength range.
- Low-strength fabrics (e.g., lightweight silk): Weight B
- Medium-strength fabrics (e.g., cotton sheeting): Weight C
- High-strength fabrics (e.g., canvas, denim): Weight D or D+additional weight
???? Always perform a trial run to confirm the weight is appropriate—too heavy a weight can cause over-tearing; too light can fail to propagate the tear.
Step 7: Notching the Specimen
- Use the integrated specimen knife or a precisionnotch jig.
- The notch should be exactly 20 mm deep for standardtests.
- Check notch sharpness daily—dull blades cause yarn displacementinstead of clean cutting.
Step 8: Clamping the Specimen
- Position specimen with tight and even grip—looseness cancause slippage.
- Avoid clamping over wrinkles or folds.
- Check that warp/weft alignment is correct—misalignmentchanges tear path.
Step 9: Performing the Test
- Load the specimen into the clamp and secure firmly.
- Simultaneously press both release buttons to swing thependulum.
- Allow the pendulum to complete its full swing withoutinterference.
???? Tip: If the pendulum “judders” or stops abruptly, check for mechanical obstruction or lubrication issues.
Step 10: Result Verification and Statistical Control
- Record the tear strength value displayed (usually in Newtons orgrams-force).
- Perform tests on at least 5 warp and 5 weft specimens.
- Calculate the mean and standard deviation for eachdirection.
- Discard outlier results if clearly caused by test executionerrors.
???? Acceptable Variation:
- Coefficient of Variation (CV) should generally be below 5%for homogeneous fabrics.
3. Troubleshooting Common Problems
Issue | Possible Cause | Solution |
Tear path deviates from notch | Fabric bias cut or uneven tension | Check cutting alignment |
Inconsistent readings | Machine not leveled or uncalibrated | Re-level and recalibrate |
| Tear stops mid-way | Weight too light for fabric strength | Use heavier pendulum |
Pendulum fails to swing freely | Mechanical friction | Lubricate pivot points |
Results too high/low | Incorrect conditioning | Follow ISO conditioning guidelines |
4. Advanced Accuracy Enhancements
- Digital Elmendorf testers with loadcell sensors offer higher resolution than analog dial models.
- Automatic notch cutters ensureconsistent tear initiation.
- Software integration allows forautomatic calculation, result storage, and statistical analysis.
- Environmental test chambers allowtesting under varied humidity/temperature conditions for researchpurposes.
5. Final Recommendations
For repeatable, standard-compliant Elmendorf tear testing:
- Prepare specimens with precision and consistency.
- Control environmental conditions rigorously.
- Calibrate the machine daily.
- Use correct weights and notch sizes.
- Verify results statistically and troubleshoot anomaliesimmediately.
By implementing these measures, laboratories can ensure data integrity, product quality, and regulatory compliance—and avoid costly retesting or shipment delays.
Common Mistakes to Avoid in the Elmendorf Tear Test – Best Practices for Accurate Results
The Elmendorf tear test is one of the most widely used methods for determining the tear strength of fabrics, paper, and similar sheet materials. However, even minor errors in procedure or equipment handling can significantly affect the accuracy of the results.
Below is a comprehensive guide to common mistakes technicians should avoid when using the Elmendorf tear tester, along with practical recommendations to maintain testing precision and repeatability.
1. Neglecting Proper Calibration
Calibration ensures that the tear tester operates within its designed accuracy range.
- Impact of Improper Calibration: Ifthe pendulum force or scale reading is off, even by a small margin, thetear strength values may be misleading. This can lead to false conclusionsabout the material's performance.
- Best Practice:
- Follow the machine’s standard operating procedures (SOP) and the manufacturer’s calibration guidelines.
- Regularly verify calibration using certified calibration weights or test materials.
- Record all calibration dates and adjustments in a maintenance log to ensure traceability.
2. Uneven or Incorrect Sample Cutting
Specimen preparation is a critical factor in test accuracy.
- Problem: An uneven cut can causemisalignment in the clamp, resulting in irregular tearing patterns andinconsistent readings.
- Standards to Follow:
- Cut each specimen precisely to 100 mm × 75 mm using a standard cutting template.
- Create a notch measuring 15 mm × 12 mm at the center of the top edge to initiate tearing.
- Avoid fabric areas with wrinkles, fold marks, or edge defects, as they may bias results.
Tip: Use sharp cutting tools and maintain a clean cutting surface to prevent fraying or distortion.
3. Improper Specimen Placement in the Clamp
Even a perfectly cut sample can produce inaccurate results if not clamped correctly.
- Common Errors:
- Misalignment between the specimen’s center and the clamp’s centerline.
- Loose clamping, leading to slippage during tearing.
- Twisting or skewing of the fabric, causing uneven tear propagation.
- Best Practice:
- Align the notch exactly with the pendulum blade’s path.
- Apply uniform clamping pressure to hold the specimen firmly without distorting the fabric.
4. Ignoring Environmental Conditions
Fabric tear strength can vary significantly with temperature and humidity.
- Effects:
- High humidity can increase fabric flexibility and alter tear resistance.
- Low humidity may make fibers brittle, leading to higher tear values.
- Best Practice:
- Condition specimens in a controlled environment (typically 21 ± 1°C and 65 ± 2% RH) before testing.
- Avoid exposing samples to fluctuating conditions between preparation and testing.
5. Operator Error and Inconsistent Technique
Even when equipment and specimens are prepared correctly, human error can compromise results.
- Examples of Errors:
- Inconsistent pendulum release speed.
- Mishandling specimens during placement.
- Failing to follow the exact SOP for every test.
- Solutions:
- Provide technical training for all laboratory staff.
- Encourage operators to perform practice runs before official tests.
- Use checklists to verify each procedural step.
6. Overlooking Tester Limitations
The Elmendorf tear tester is designed for thin to medium-weight sheet materials.
- Risks of Misuse:
- Testing materials that are too thick or stiff may damage the machine.
- Results will be invalid if the specimen’s tear resistance exceeds the pendulum’s capacity.
- Best Practice:
- Review the instrument’s capacity range before testing.
- For heavy-duty fabrics, consider alternative tear testing methods such as trapezoidal tear tests.
7. Summary – Keys to Accurate Elmendorf Tear Testing
For precise and repeatable results:
- Condition specimens according to standards.
- Cut and notch samples precisely.
- Secure specimens firmly and align correctly in the clamp.
- Follow calibration schedules diligently.
- Train operators thoroughly on test procedures.
- Respect the instrument’s design limitations.
A well-executed test should produce a rupture width of approximately 1.5 cm in the template, confirming a successful measurement.
Frequently Asked Questions (FAQ)
Q1: What is the purpose of the Elmendorf tear test?
The Elmendorf tear test measures the force required to propagate a tear in a fabric by applying a sudden load via a pendulum mechanism.
Q2: What are the two main tear test types used in textiles?
- Tongue Tear Test – Uses a tensiletester to measure tear resistance in a pre-cut tongue-shaped sample.
- Elmendorf Tear Test – Uses apendulum to measure the energy absorbed during tearing.
Q3: How should we prepare Elmendorf tear test samples?
Cut specimens to 100 mm × 75 mm, then create a 15 mm × 12 mm notch at the top center for both warp and weft directions.
Q4: Why is initial weight selection important?
Choosing the correct pendulum weight ensures the tear occurs smoothly without overloading or underloading the sample.
Q5: How do I know if the test was successful?
A correctly executed test will produce a rupture width of approximately 1.5 cm on the template, indicating proper tear propagation.
???? For expert advice on textile testing machines or standards:
- WhatsApp: +86 13066820203
- Email: sarah@astrand-martindale.com

点击右上角
分享给朋友吧


 Long by picture save/share
0
Prev : ASTRAND's main textile testing instruments
Next : Comprehensive Guide to Types of Color Fastness Tests and Testers
Your liking is the energy source that I persist in writing
YouArticle
已有0人推荐
CONTACT US
 No. 94, Chenwu Section, Guantai Road, Houjie
Town, Dongguan City
 E-mail: sarah@astrand-martindale.com
jack@astrand-martindale.com
 Tel: (+86) 186 8867 2626 Jack
 Tel: (+86) 130 668 20203 Sarah
HOT TAGS
LATEST NEWS
SUBSCRIBE
Please read on, stay posted, subscribe, and we welcome you to tell us what you think.
Copyright © 2022 Dongguan Astrand Electronic Technology Co., Ltd. All Rights Reserved | Log in
Copyright © 2022 Dongguan Astrand Electronic Technology Co., Ltd. All Rights Reserved